 Well, being frugal is always a great way to start. So you search your humble abode, and perhaps even ask friends/family for those particular boxes that once housed delicate chocolates or sugar packs. Then you scrounge thru your various scrapbooking paper, collect glue, scissors, a bowl and a brush and you get busy. And that is exactly what I have done lately. Whenever we get (usually a gift) those nice quality chocolates, I always save the boxes. My husband actually found one I tucked away and he had the nerve to pitch it. I gasped in horror and immediately plucked it from its demise. Thankfully there wasn't anything in the trash yet so it was safe from grossness, and I must say-he won't make that mistake again. The shocked look from such outlandishness across my dazed face surely left a lasting impression on him. LOL
Anyhoo-the reason I am posting this because there are times folks need a box or something to hold those little goodies. So why pay a lot of cashola for something you can make? I don't know why you would. I try my best re-purpose things when I can; this is a fun, creative way to get a few storage boxes that are sturdy and useful for our schooling needs.
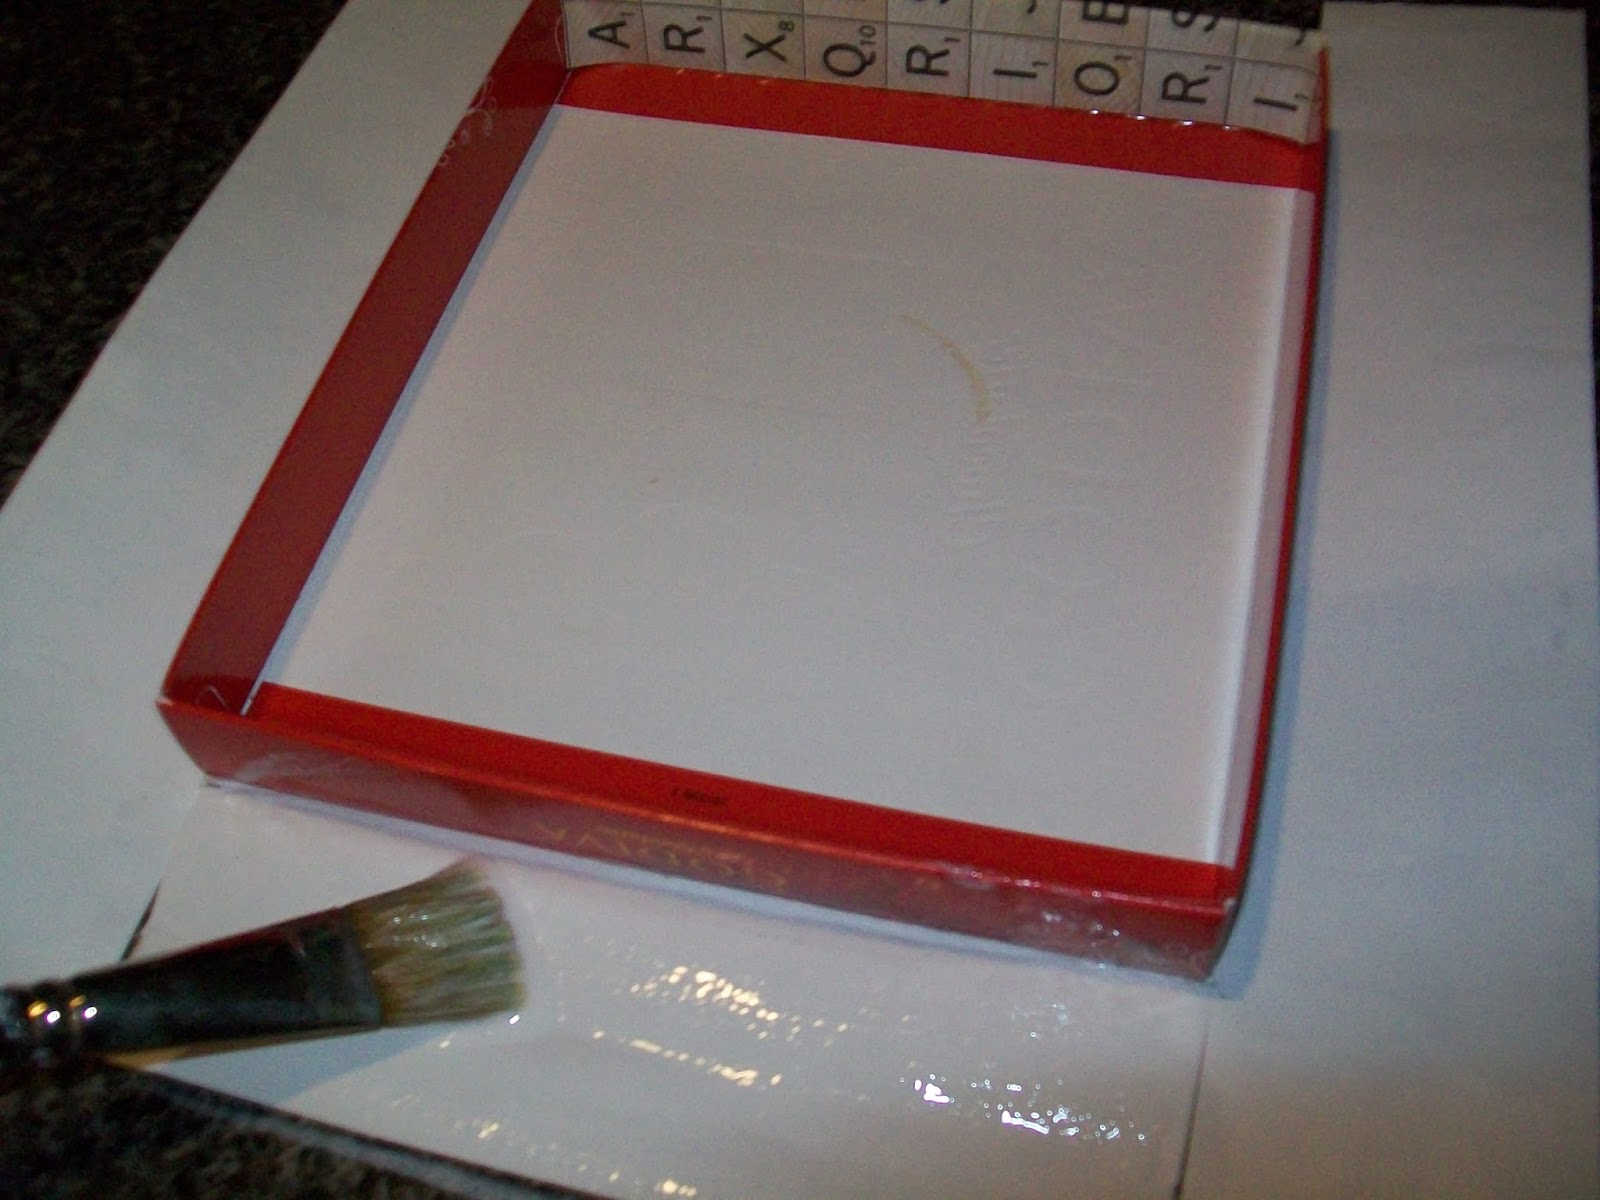
 Now I do not have a canister of Modge Podge about the house, so I did what any frugal gal would-I made the 'poor man's version' of it using Elmer's Glue and water to thin it. Worked like a charm!
Figured I would just do a picture tutorial (for those who have never tried such things) and put a wee comment under when necessary. Hope this helps you out.
The Basics:


Cut to the area where the corners meet
-but not too far in as you can always fix as you go.

Put a nice, but not too heavy layer of glue down on the
lid then lay down in the center area of your paper.

Flip over and use one of those handy-dandy Pampered Chef
scrapers (or a soft edged tool) to get rid of any air bubbles.

Glue, fold and press out any bubbles, along all sides.


Let dry thoroughly. I actually did two coats.
Very smooth and durable.
And there ya go-


Now I have a lovely box to contain language materials. And hey, if it gets crushed-well I am out like 30 cents. Not too shabby! :)


